Crash Course Next JS SSR Framework

Style Guide for React application
Crash Course in Next.js for 2022
Next is a React web framework that enables server-side rendering and static site generation. So, it is built on top of React and gives you extra features which are perfectly suited for larger production apps.
Server-Side Rendering
Unlike a traditional React app where the entire application is loaded and rendered on the client-side, Next.js allows the first-page load to be rendered by the server, which is great for SEO and performance.
Other Next.js Benefits
These are some of the other benefits of Next.js:
1. Easy page routing- No need for react-router-dom
2. API Routes- Create API routes like Node.JS
3. Out of the box TypeScript and Sass- No special package required.
4. Static site generation(next export)- Similar to Gatsby.JS
5. Easy deployment- Any service that hosts a Node.JS app like Netlify, Vercel
Setup and App
Now, to create a Next.js app, we need to use the command shown below, inside any folder. The only requirement, like for React apps, is that Node.js and npm should be installed on the machine.
npx create-next-app next-crash-course
Now, as per the instructions change to the newly created folder. I have also opened the project in VS Code. After that, run npm run dev to start the project.
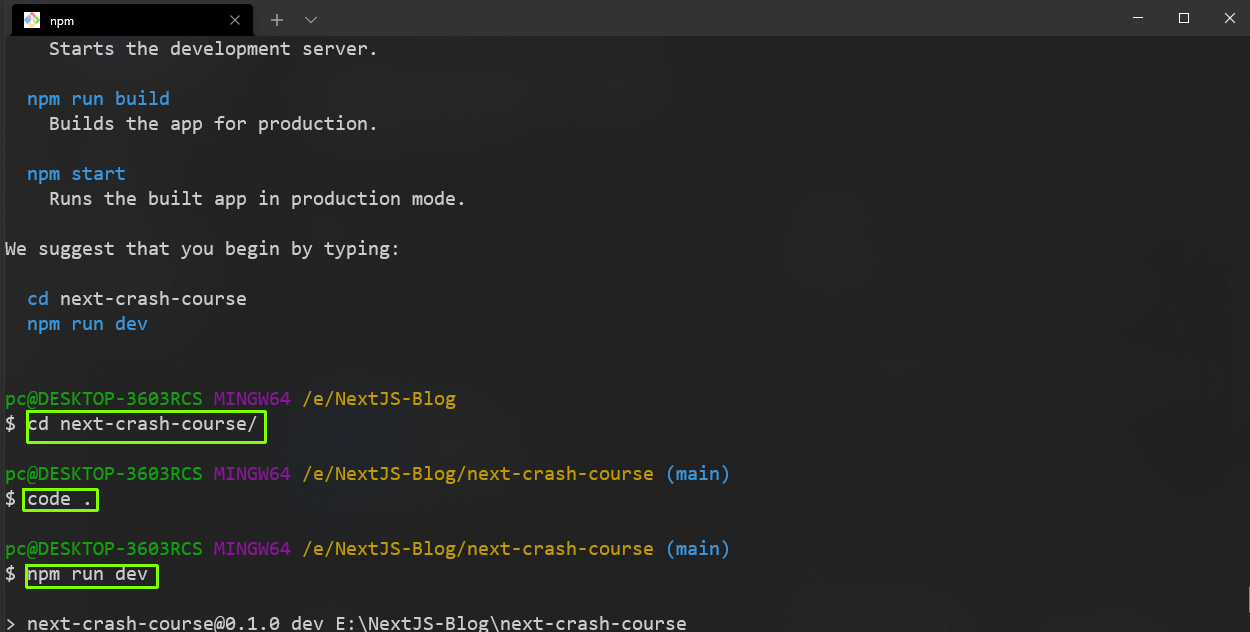
Installing
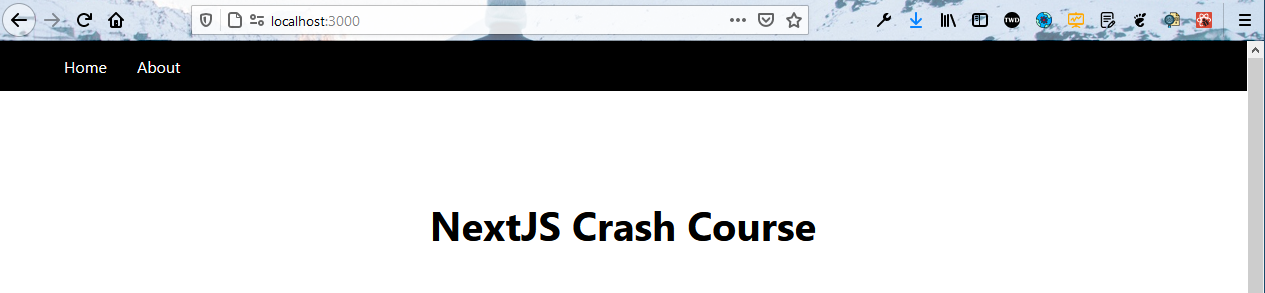
Now, just like a React app, the Next.js app will start on http://localhost:3000/ and we will see this default page.
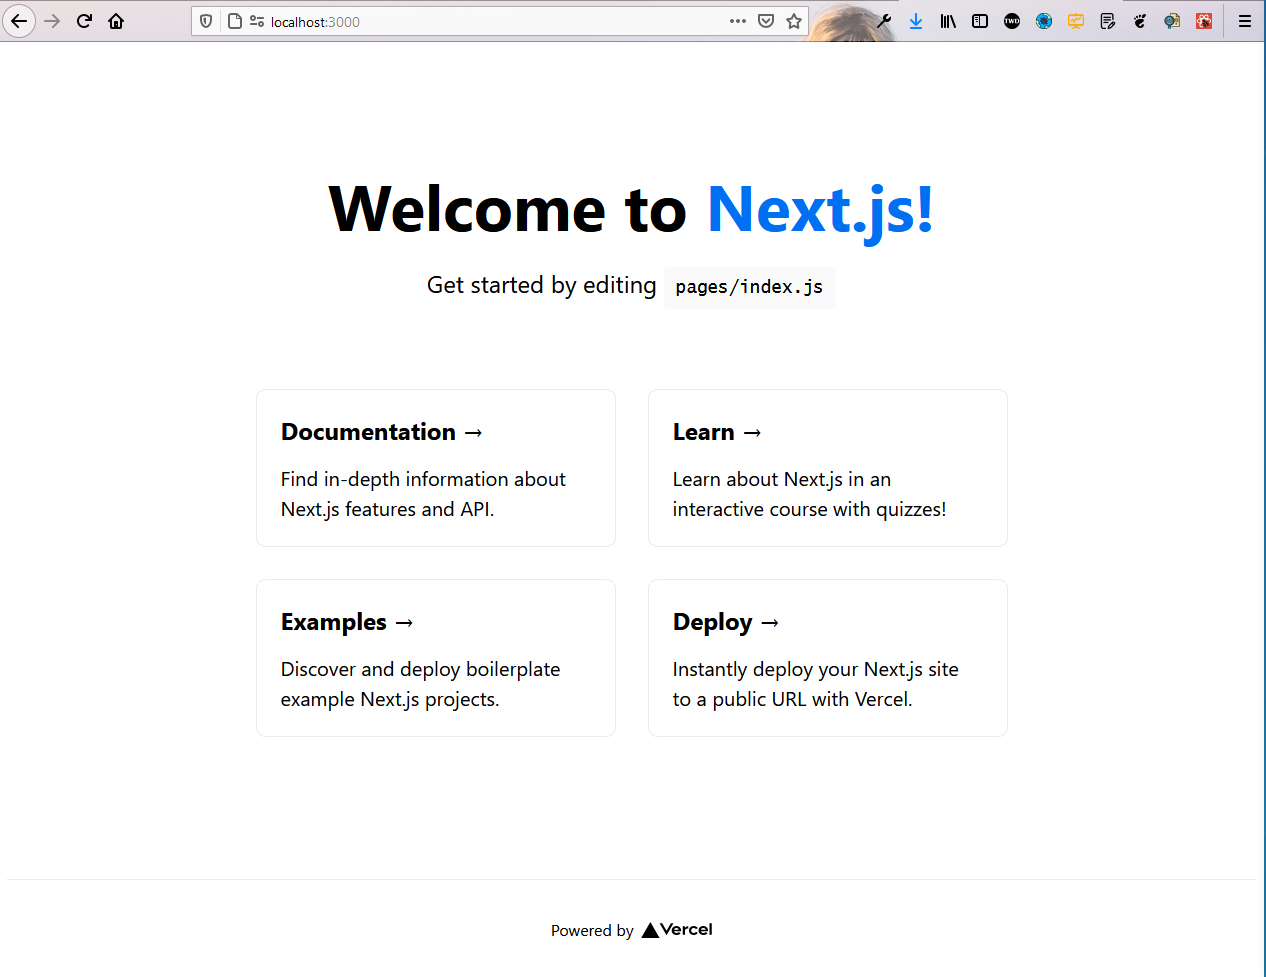
localhost
This page is coming from the index.js file in the pages folder. Remove everything from there and put the content below in it. Here, we have a Head element containing title and meta text, and after that just an h1.
import Head from 'next/head'

export default function Home() {
  return (
    <div>
      <Head>
        <title>TheWebDev</title>
        <meta name='keywords' content='web-development, programming' />
      </Head>
      <h1>NextJS Crash Course</h1>
    </div>
  )
}
Now, in localhost, only our title and the h1 have been shown. Also, if we open the console, we can see our metadata and also the body containing an h1, which is generally not the case in a React app. So, this means, it is great for SEO because google web-crawlers can read it.
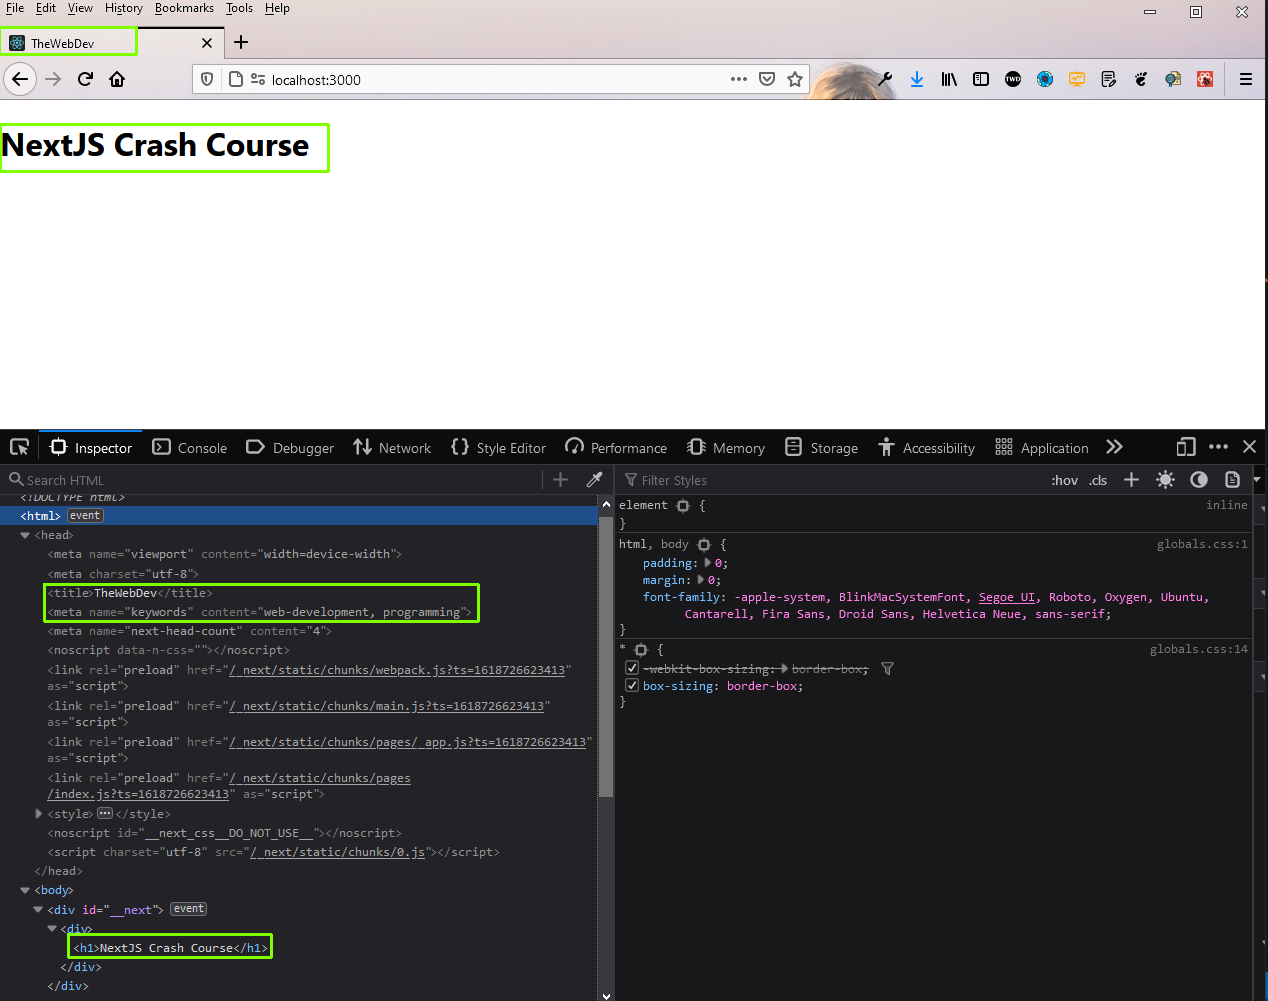 localhost
To create a new route in Next.js, we don’t have to go through the hassle of setting up the route via react-router-dom. We need to just create a new page inside the pages folder.
So, create a file about.js inside the pages folder and put the content below in it.
import Head from 'next/head'
const about = () => {
    return (
        <div>
            <Head>
                <title>About</title>
            </Head>
            <h1>About Page</h1>
        </div>
    )
}
export default about
Now, just go to http://localhost:3000/about and we can see the content of the page.
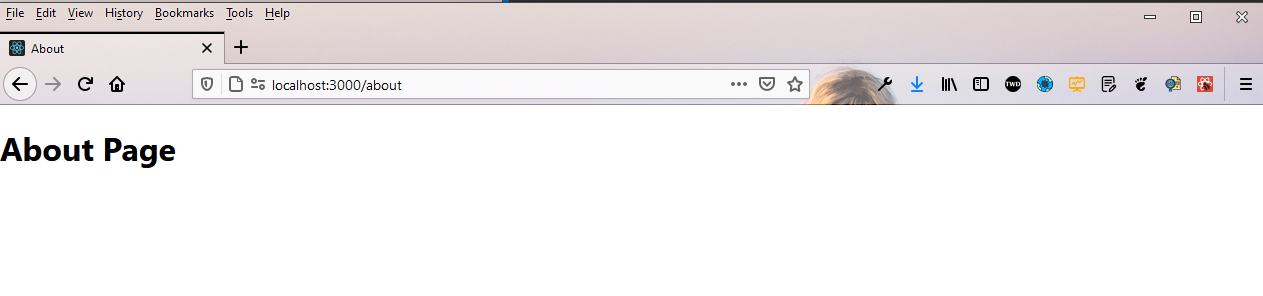
About Page
Now, there is a file _app.js which wraps around all of our pages. So, if we want to implement a general layout in all of our pages, we will use it.
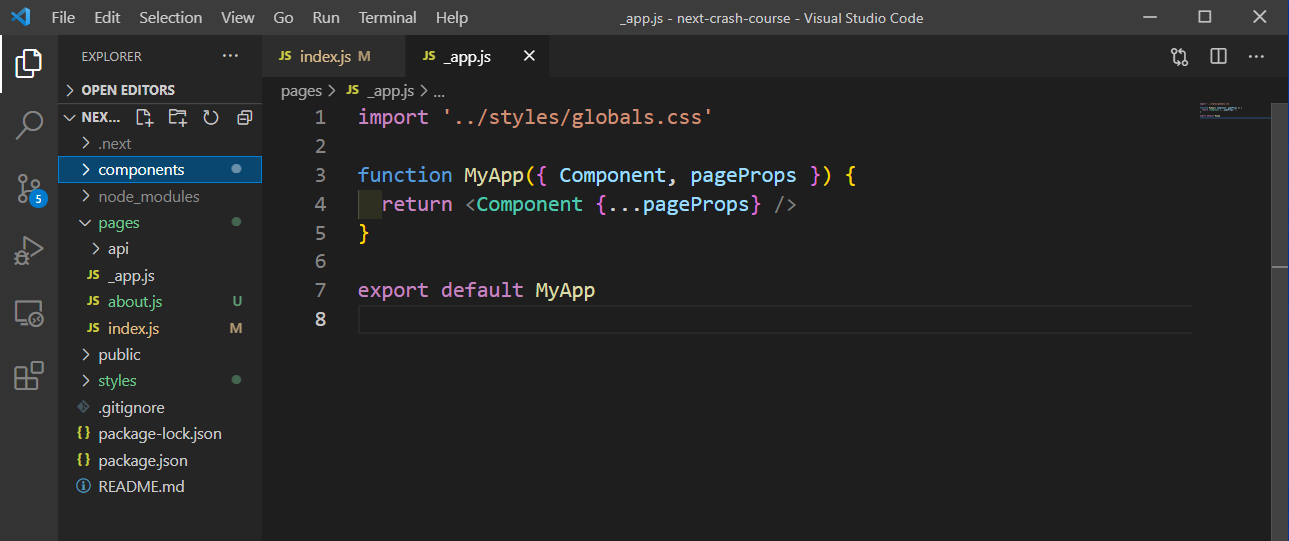
_app.js
So, let’s create our Layout component. For this first create a new style file Layout.module.css in the styles folder and put the content below in it.
.container {
  min-height: 100vh;
  padding: 0 0.5rem;
  display: flex;
  flex-direction: column;
  justify-content: flex-start;
  align-items: center;
}.main {
  padding: 5rem 0;
  flex: 1;
  display: flex;
  flex-direction: column;
  justify-content: flex-start;
  align-items: center;
  font-size: 1.25rem;
}
Now, create a new folder components in the root directory and create a file Layout.js inside it. Put the content below in it.
import styles from '../styles/Layout.module.css'
const Layout = ({ children }) => {
    return (
        <div className={styles.container}>
            <main className={styles.main}>
                {children}
            </main>
        </div>
    )
}
export default Layout
Back in _app.js, we will wrap the Component inside the Layout component.
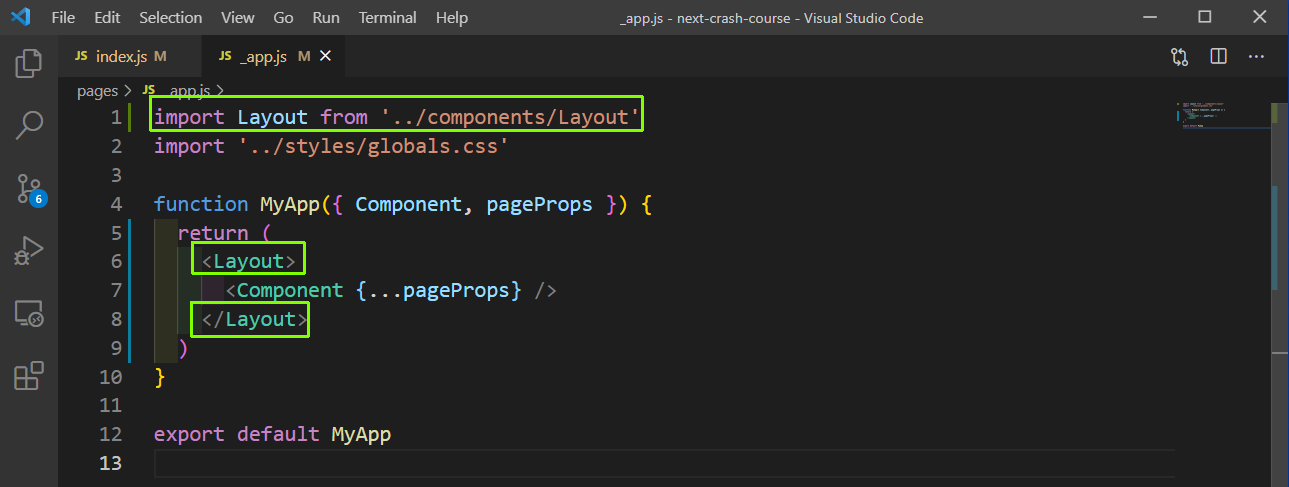
_app.js
Now, our localhost shows the styles on all our pages.
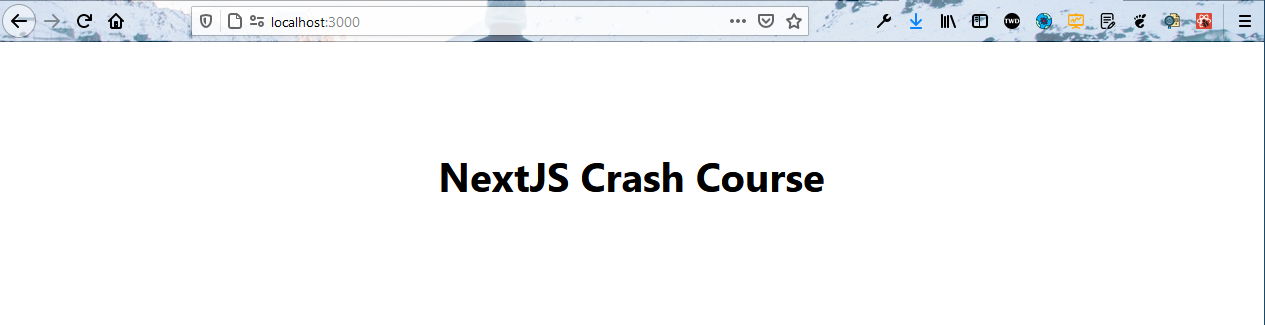
localhost
Now, we will work on the Navbar and learn about Links. So, first, create a file Nav.module.css inside the styles folder. Put the content below in it.
.nav {
    height: 50px;
    padding: 10px;
    background: #000;
    color: #fff;
    display: flex;
    align-items: center;
    justify-content: flex-start;
}.nav ul {
    display: flex;
    justify-content: center;
    align-items: center;
    list-style: none;
}.nav ul li a {
    margin: 5px 15px;
}
Now, create a file Navbar.js inside the components folder and put the content below in it. Here, we are using React type Link to go to different routes.
import Link from 'next/link'
import navStyles from '../styles/Nav.module.css'
const Navbar = () => {
    return (
        <nav className={navStyles.nav}>
            <ul>
                <li>
                    <Link href='/'>Home</Link>
                </li>
                <li>
                    <Link href='/about'>About</Link>
                </li>
            </ul>
        </nav>
    )
}
export default Navbar
Now, we will add the Navbar in Layout.js, so that it is shown on all pages.
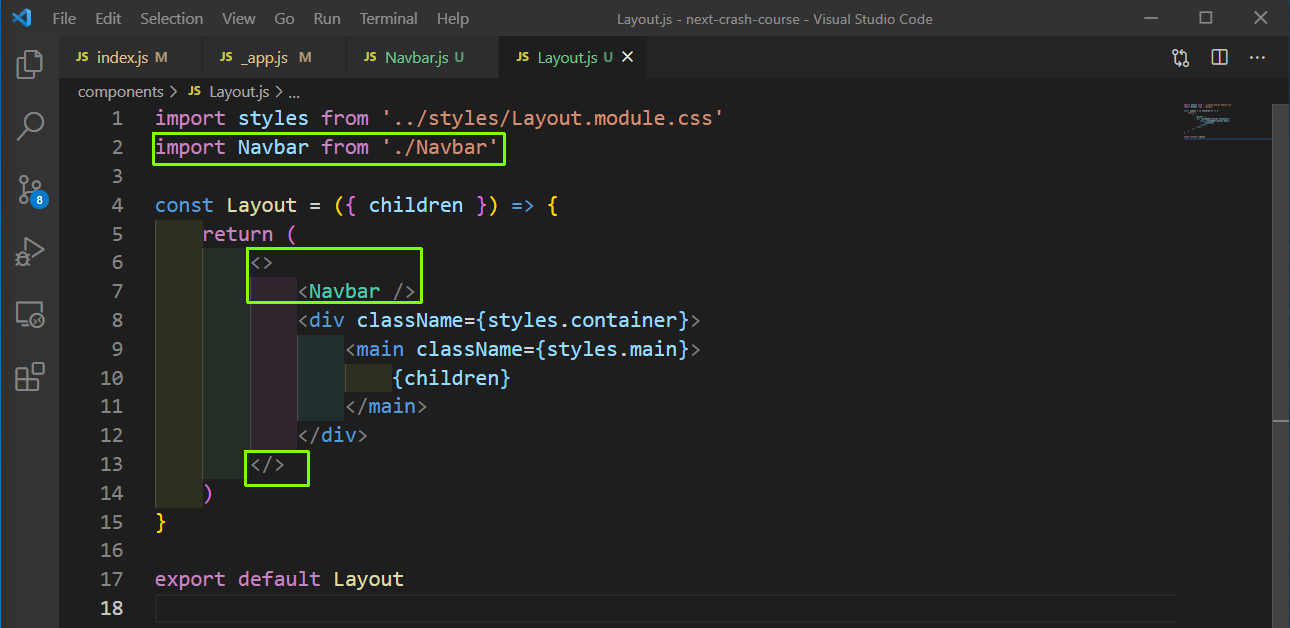
Layout.js
Now, in localhost we will see the nice Navbar in all pages.
localhost
Now, we will create our Header component. So, create a file Header.module.css inside the styles folder and add the content below in it.
.title a,
.title span {
  color: #0070f3;
  text-decoration: none;
}.title a:hover,
.title a:focus,
.title a:active {
  text-decoration: underline;
}.title {
  margin: 0;
  line-height: 1.15;
  font-size: 4rem;
}.title,
.description {
  text-align: center;
}.description {
  line-height: 1.5;
  font-size: 1.5rem;
}
Now, create a file Header.js inside the components folder and put the content below in it.
import headerStyles from '../styles/Header.module.css'
const Header = () => {
    return (
        <div>
            <h1 className={headerStyles.title}>
                <span>TheWebDev</span> News
            </h1>
            <p className={headerStyles.description}>
                Keep up to date with the latest web-development news
            </p>
        </div>
    )
}
export default Header
Now, we will put it in Layout.js so that we can get it on every page.
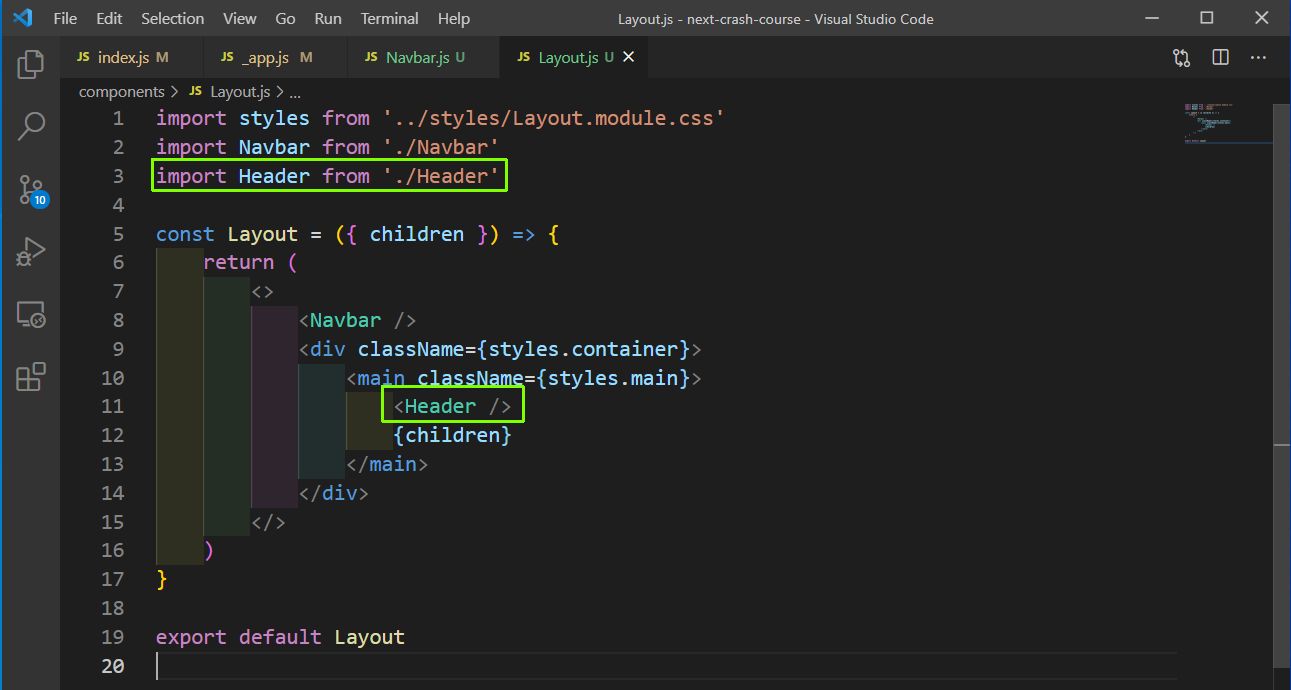
Layout.js
Now, we will look into data fetching from our pages. There are three ways to fetch data in a Next.js app.
- getStaticProps- which allows us to fetch data at build time.
- getServerSideProps- which fetch data at every requests.
- getStaticPaths- which are dynamic generated paths, based on data we are fetching.
Now, we will use getStaticProps in this project. So, open the index.js file and add the getStaticProps method where we are using a fetch to get the data from an API endpoint. We get access to the data in a props in Next.js, which we are futher assigning to articles.
Now, we are destructuring this props in our Home and mapping through it and showing it.
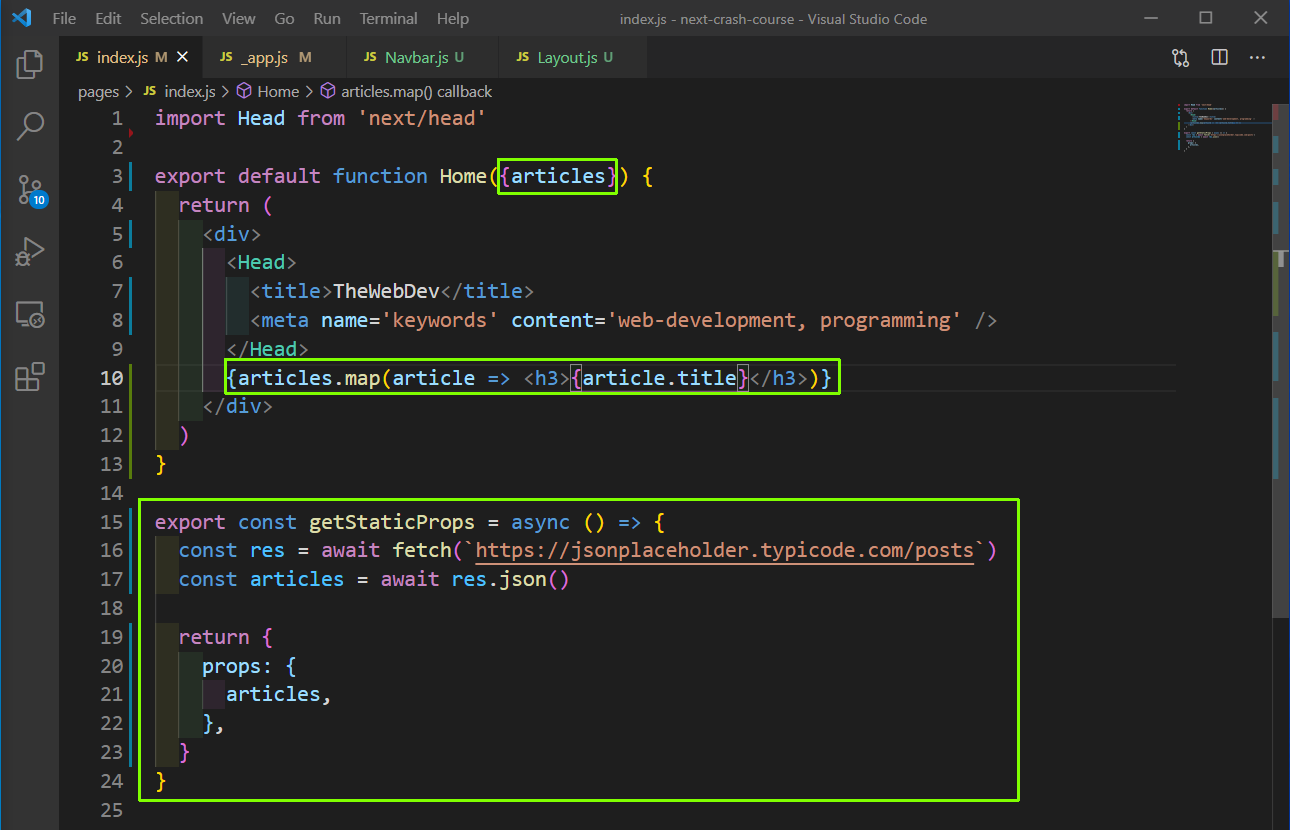
index.js
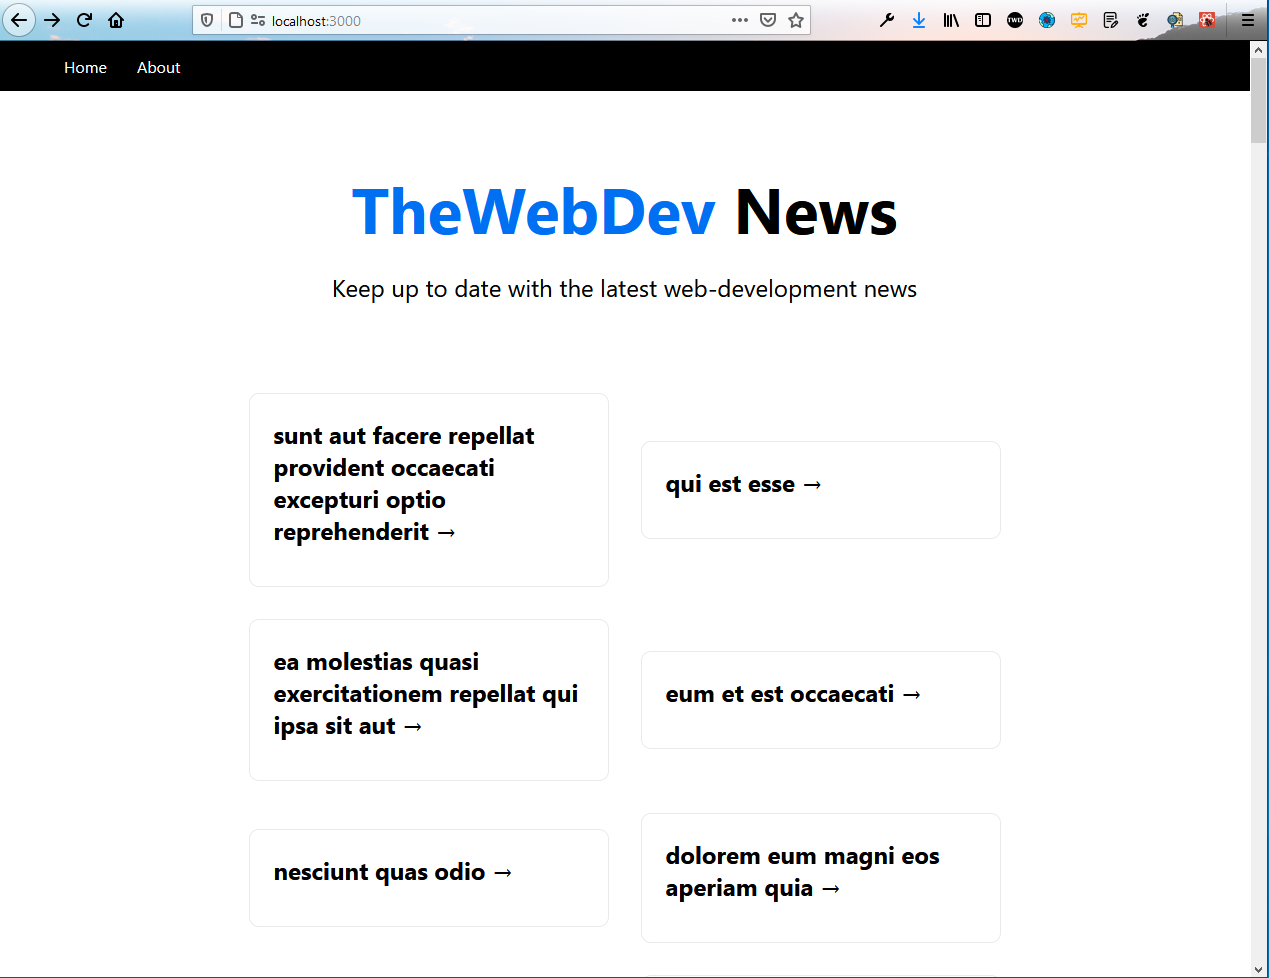
Now, in localhost we are able to see all these posts.

localhost
Now, we are going to make separate components for these articles. So, let’s first create the styles in Article.module.css file in styles folder.
.grid {
    display: flex;
    align-items: center;
    justify-content: center;
    flex-wrap: wrap;
    max-width: 800px;
    margin-top: 3rem;
  }

  .card {
    margin: 1rem;
    flex-basis: 45%;
    padding: 1.5rem;
    text-align: left;
    color: inherit;
    text-decoration: none;
    border: 1px solid #eaeaea;
    border-radius: 10px;
    transition: color 0.15s ease, border-color 0.15s ease;
  }

  .card:hover,
  .card:focus,
  .card:active {
    color: #0070f3;
    border-color: #0070f3;
  }

  .card h3 {
    margin: 0 0 1rem 0;
    font-size: 1.5rem;
  }

  .card p {
    margin: 0;
    font-size: 1.25rem;
    line-height: 1.5;
  }

  .logo {
    height: 1em;
  }

  @media (max-width: 600px) {
    .grid {
      width: 100%;
      flex-direction: column;
    }
  }
Now, create a file ArticleList.js inside the components folder and put the content below in it. Here, we are just mapping through the articles and passing it to an ArticleItem component.
import ArticleItem from './ArticleItem'
import articleStyles from '../styles/Article.module.css'
const ArticleList = ({ articles }) => {
    return (
        <div className={articleStyles.grid}>
            {articles.map((article) => (
                <ArticleItem article={article} />
            ))}
        </div>
    )
}
export default ArticleList
Now, create a file ArticleItem.js inside the components folder and put the content below in it. Inside it, we will show the title and excerpt of each article. We are also wrapping everything with a Link tag, because we are going to implement the logic to take to a single article on click.
import Link from 'next/link'
import articleStyles from '../styles/Article.module.css'
const ArticleItem = ({ article }) => {
return (
<Link href={\`/article/${article.id}\`}>
<a className={articleStyles.card}>
<h3>{article.title} →</h3>
</a>
</Link>
)
}
export default ArticleItemAfter that we need to add the ArticleList component in our index.js file.

index.js
Now, we will see all the article in a nice view in localhost.
localhost
Now, when we click on any article we go to the correct route, but we get a 404.
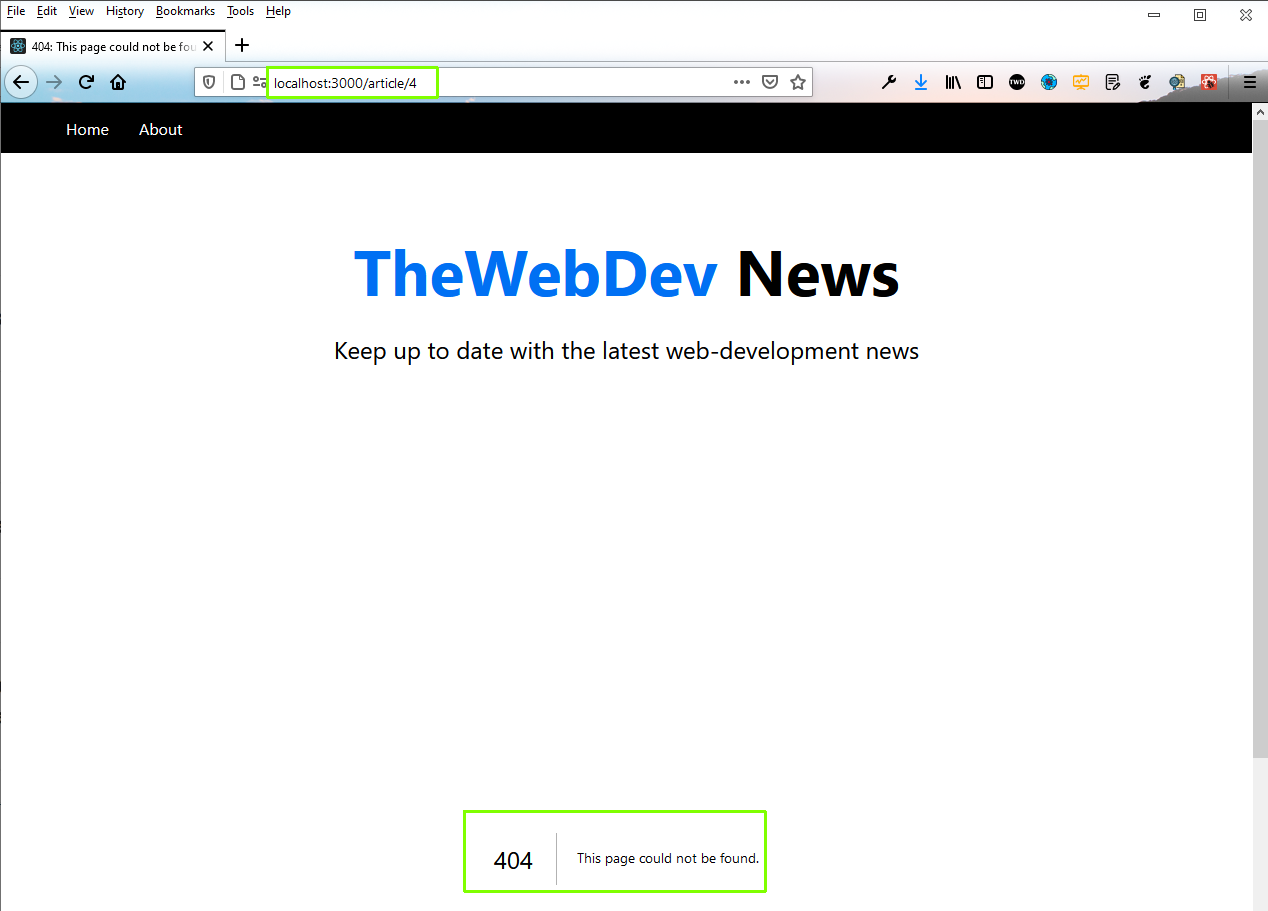
404
So, let’s now implement what is the single article page. In Next.js, it’s a bit different to implement nested routes. Here, create an article folder inside the pages folder.
Next, create a [id] folder inside the article folder and then index.js inside it. Put the content below in it. Here, we are using getServerSideProps to get the data from the endpoint, with access to the id by context.params.id.
import Link from 'next/link'
const article = ({ article }) => {
    return (
        <>
            <h1>{article.title}</h1>
            <p>{article.body}</p>
            <br />
            <Link href='/'>Go Back</Link>
        </>
    )
}
export const getServerSideProps = async (context) => {
    const res = await fetch(
        \`https://jsonplaceholder.typicode.com/posts/${context.params.id}\`
    )
    const article = await res.json()return {
        props: {
            article,
        },
    }
}
export default article
Now, our simple Next.js app is complete and we can go to any route by clicking on it and getting the title and body of that post.

Comments